Part 1
In this section, you will construct an "environment template" that will comprise the components described below. You will create these as declarative specs in Git and use Rafay's "Git-to-System" synchronization to load them into your Rafay Org.

- A config context
- A resource template
You will implement the steps described below
- You will first create and update the files locally on your machine.
- You will push them to a new branch in your Git repository.
- Once the files are loaded in the new branch, you will merge the new branch into the main branch. The main branch is actively monitored for changes by Rafay's GitOps pipeline.
- This will trigger the automated loading of the resources in your Rafay Org.
Info
When you launch an instance of an environment based on this environment template it will execute the configured Infrastructure as Code (IaC) file. In our simple, illustrative example, we will print the values of preset environment variables.
Step 1: Download Files
In this step, you will download and extract a ZIP archive which contains the specification files of the EM resources for this part of the guide along with the Infrastructure as Code files that are used by the Environment Manager resources.
- Download the archive em-gs-part1.zip
- Extract this archive on your local machine
You will use these files in the subsequent steps.
Step 2: View/Update Config Context
In this step, we will review and update the config context declarative spec file. In our example, this file stores two environment variables with one variable configured to contain sensitive data.
Important
Be sure to update any resource names with a unique name to prevent conflicts within the organization
- In your extracted archive from step 1, navigate to em-gs-part1/projects/em-gs/configcontexts/
- View the file named em-cc.yaml in this directory
- Update any fields to match your environment if different names were used
apiVersion: eaas.envmgmt.io/v1
kind: ConfigContext
metadata:
  name: em-gs
  project: em-gs
spec:
  envs:
  - key: TF_VAR_access_key
    options:
      override:
        type: notallowed
    value: accesskey123
  - key: TF_VAR_secret
    options:
      mask: true
      override:
        type: notallowed
      sensitive: true
    value: tempvalue
Step 3: View/Update Resource Template
In this step, we will view and update the resource template. This resource template points to OpenTofu based IaC within the ZIP archive. The IaC files will be pushed to the Git repository, where the GitOps Agent will access and execute them when called.
Important
Be sure to update any resource names with a unique name to prevent conflicts within the organization
- In your extracted archive from step 1, navigate to em-gs-part1/projects/em-gs/resourcetemplates/
- View the file named em-rt.yaml in this directory
- Update any fields to match your environment if different names were used
apiVersion: eaas.envmgmt.io/v1
kind: ResourceTemplate
metadata:
  name: em-rt
  project: em-gs
spec:
  agents:
  - name: em-gs
  contexts:
  - name: em-cc
  provider: opentofu
  providerOptions:
    openTofu:
      backendType: system
  repositoryOptions:
    branch: main
    directoryPath: /terraform/
    name: gitops
  version: v1
  versionState: draft
Step 4: View/Update Environment Template
In this step, we will view and update the environment template declarative spec file. Note that this references the resource template from the prior step.
Important
Be sure to update any resource names with a unique name to prevent conflicts within the organization
- In your extracted archive from step 1, navigate to em-gs-part1/projects/em-gs/environmenttemplates/
- View the file named em-et.yaml in this directory
- Update any fields to match your environment if different names were used
apiVersion: eaas.envmgmt.io/v1
kind: EnvironmentTemplate
metadata:
  name: em-et
  project: em-gs
spec:
  agents:
  - name: em-gs
  resources:
  - kind: resourcetemplate
    name: em-rt
    resourceOptions:
      version: v1
    type: dynamic
  version: v1
  versionState: draft
Step 5: Create and Merge Git Branch
Now, you will create a new branch in your Git repository and copy the contents of the extracted ZIP archive to the branch. You will then merge this new branch into the main branch where Rafay's GitOps will detect the changes.

- Create a new branch in your Git repository
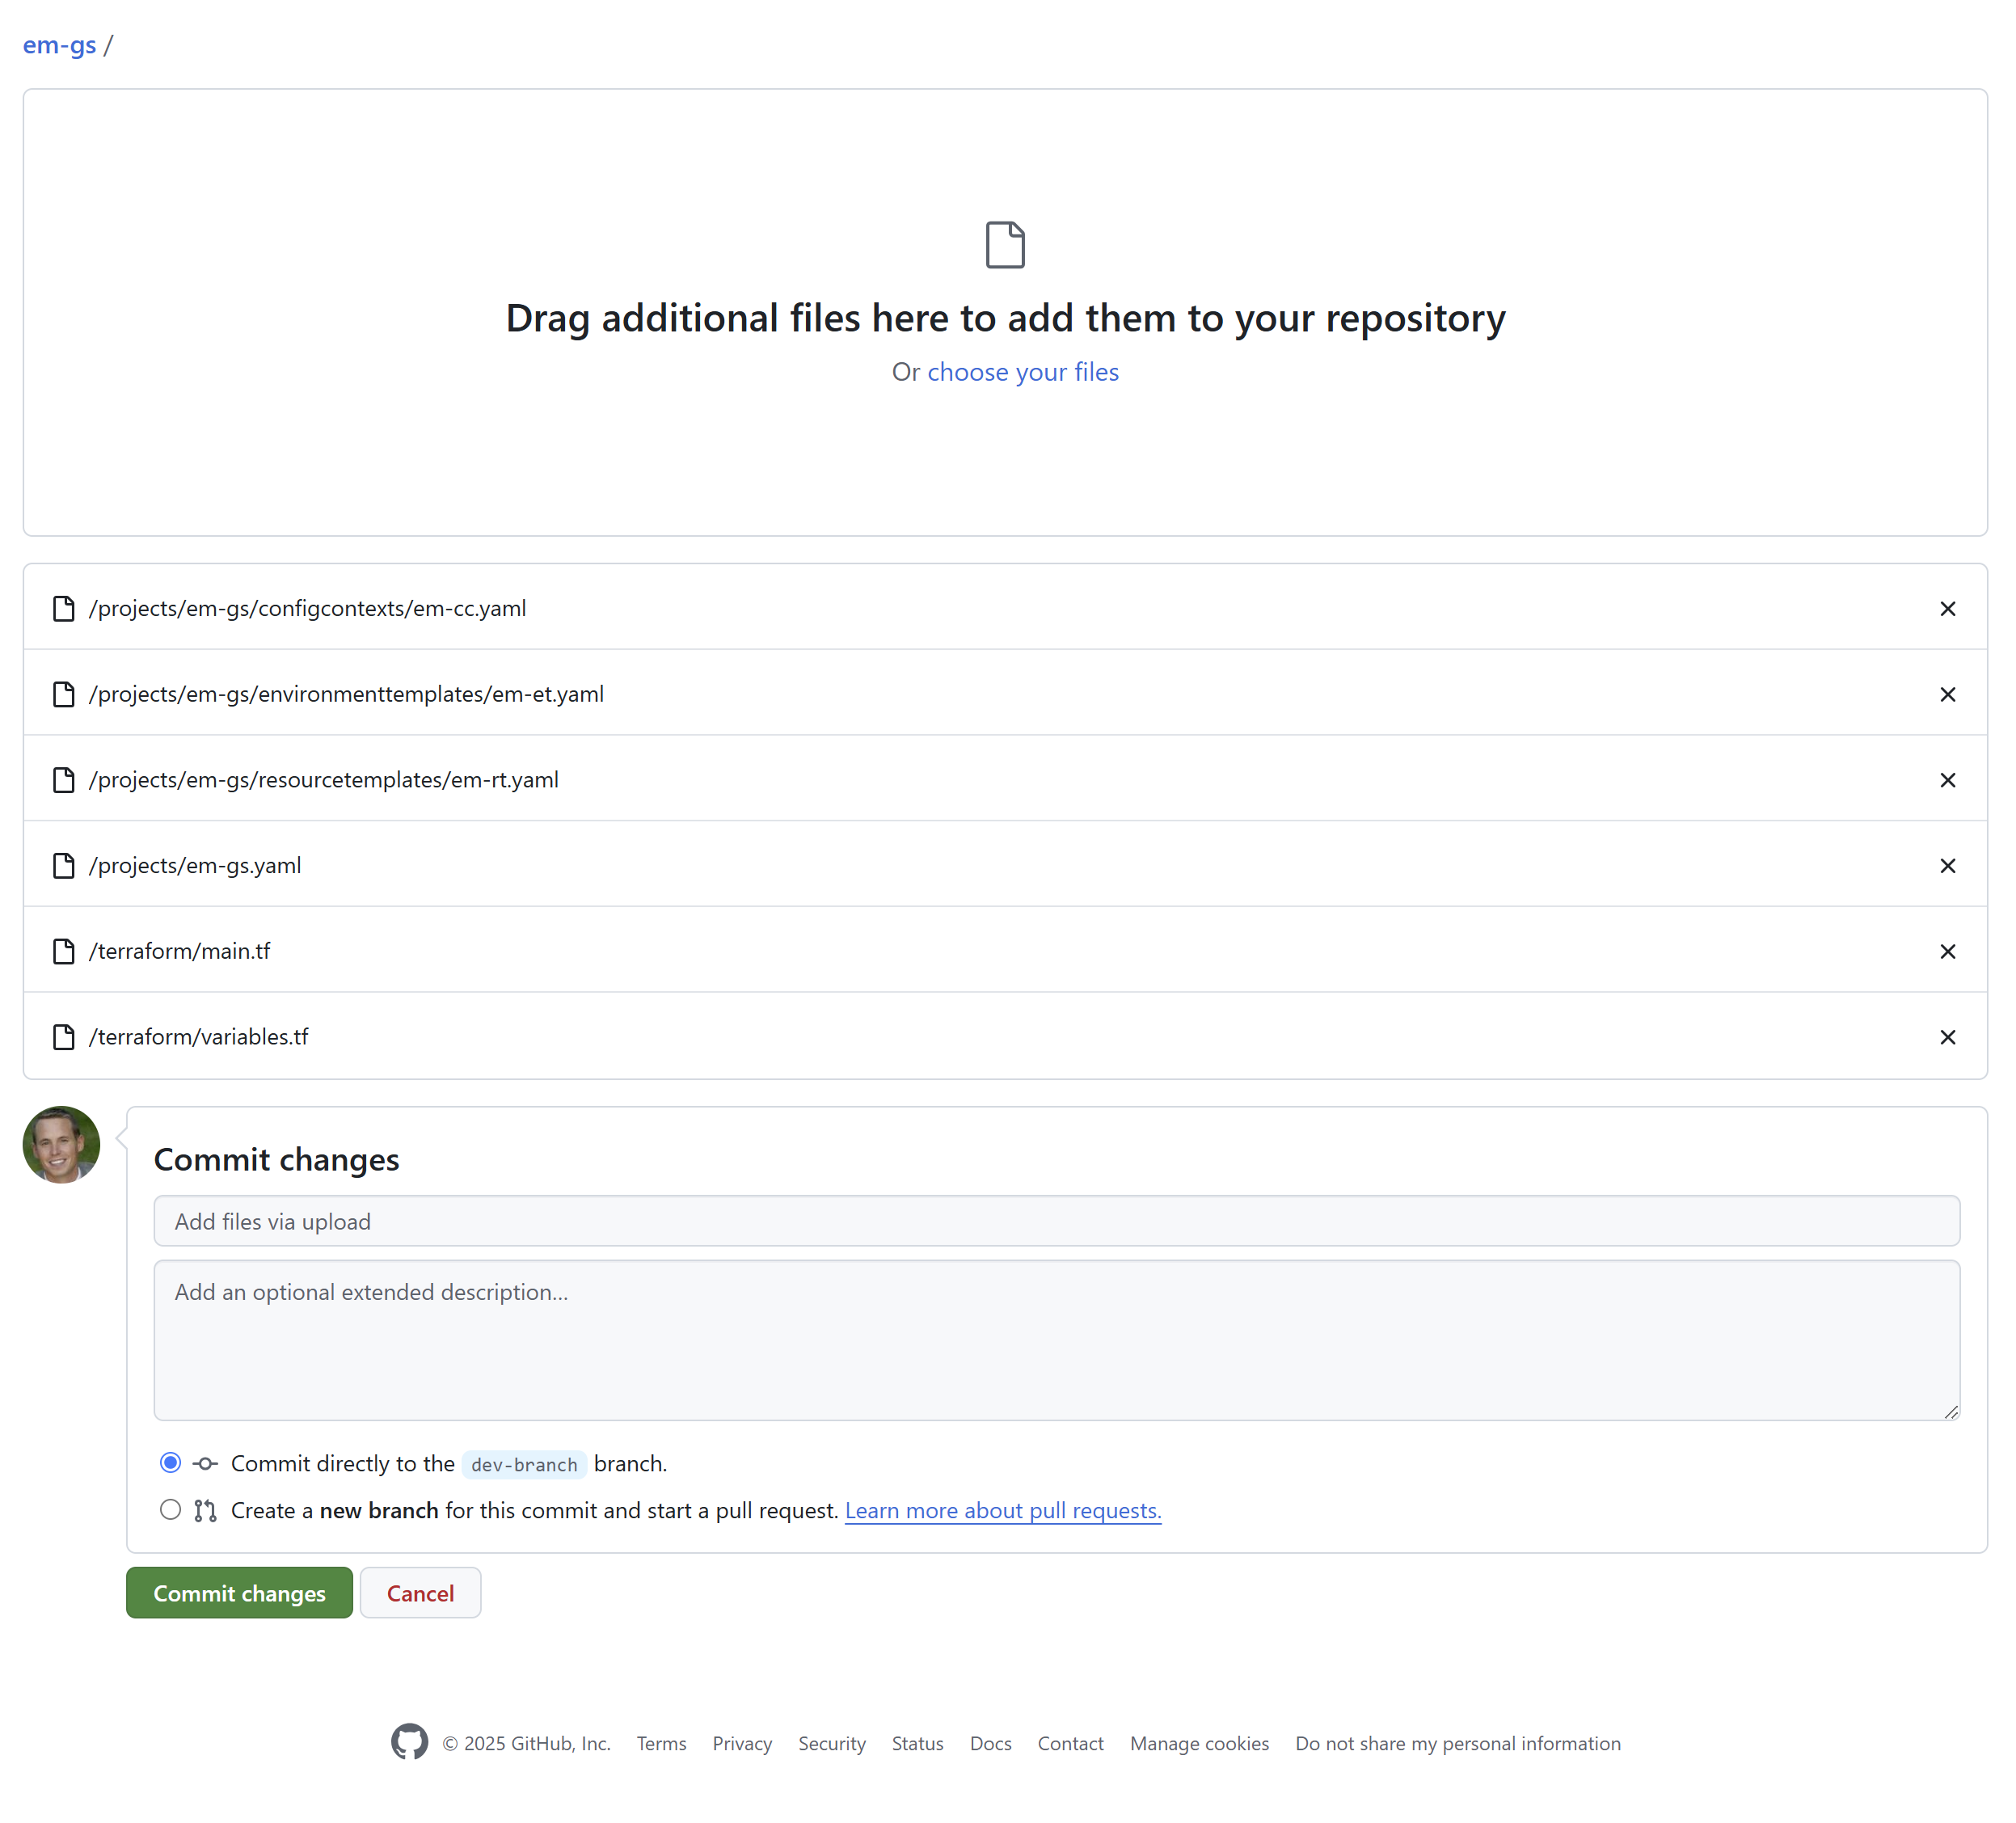
- Click Add file -> Upload files
- Add the folders named projects and terraform that contain the files you viewed/updated
- Click Commit changes
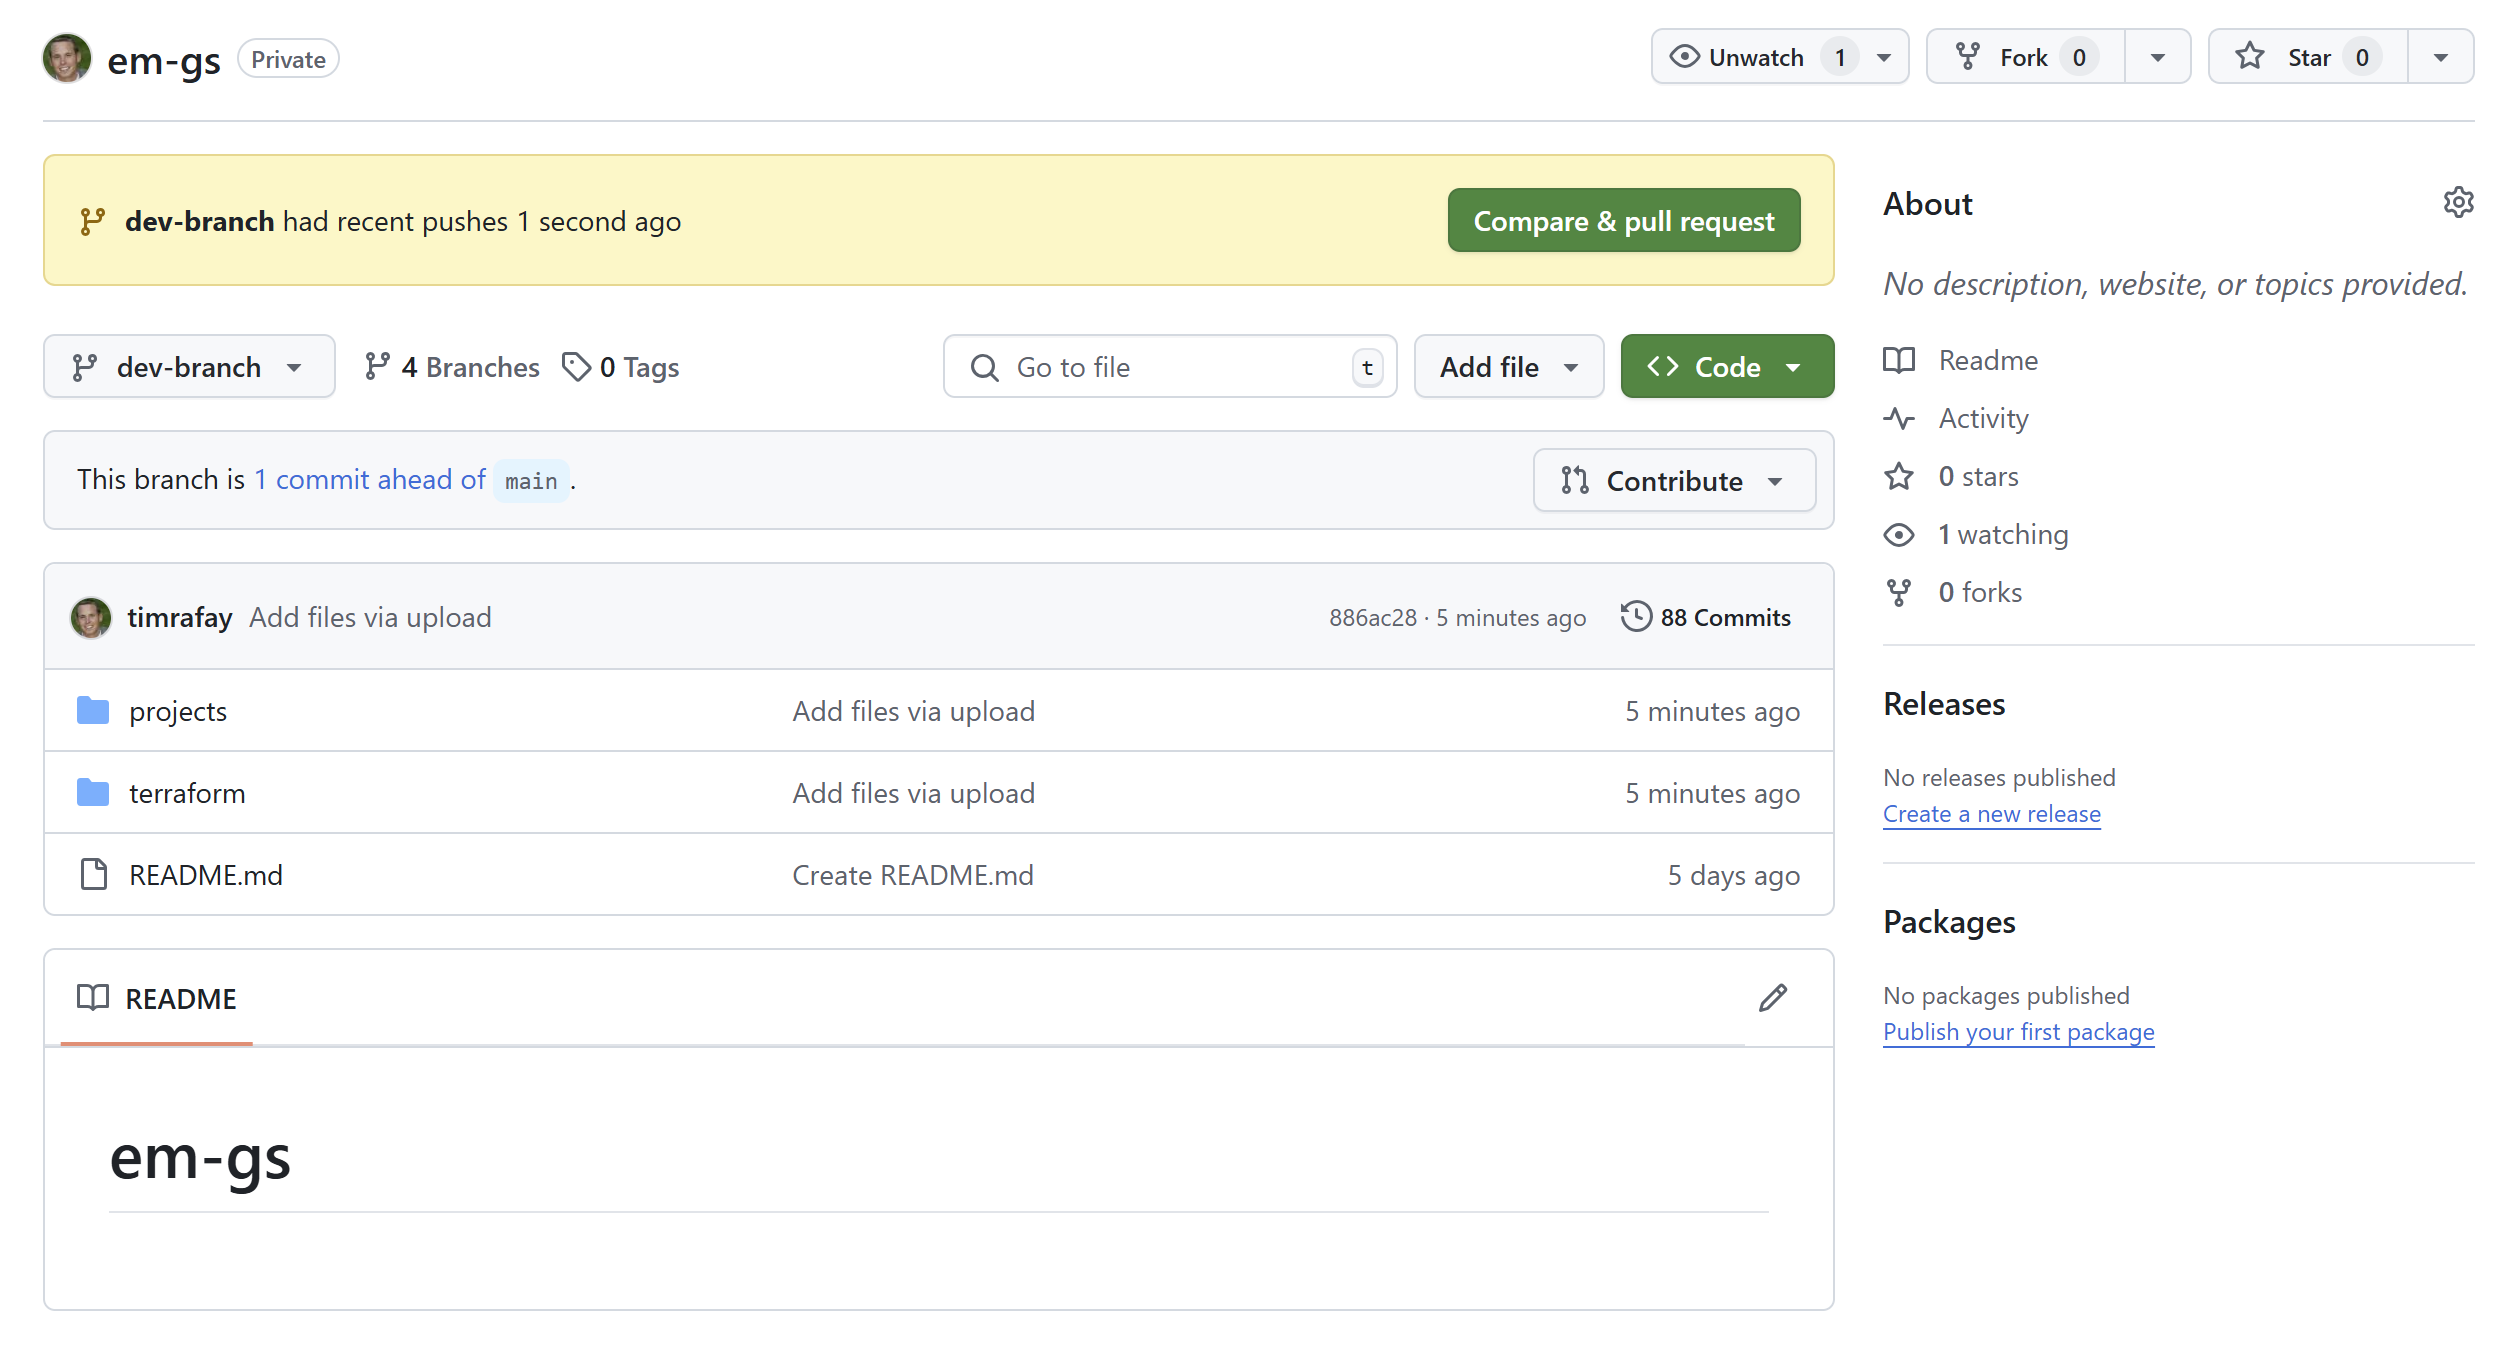
Once the changes are pushed into the new branch, we will now merge the changes into the main branch where Rafay GitOps will detect the changes and create the resources in your Rafay Org.
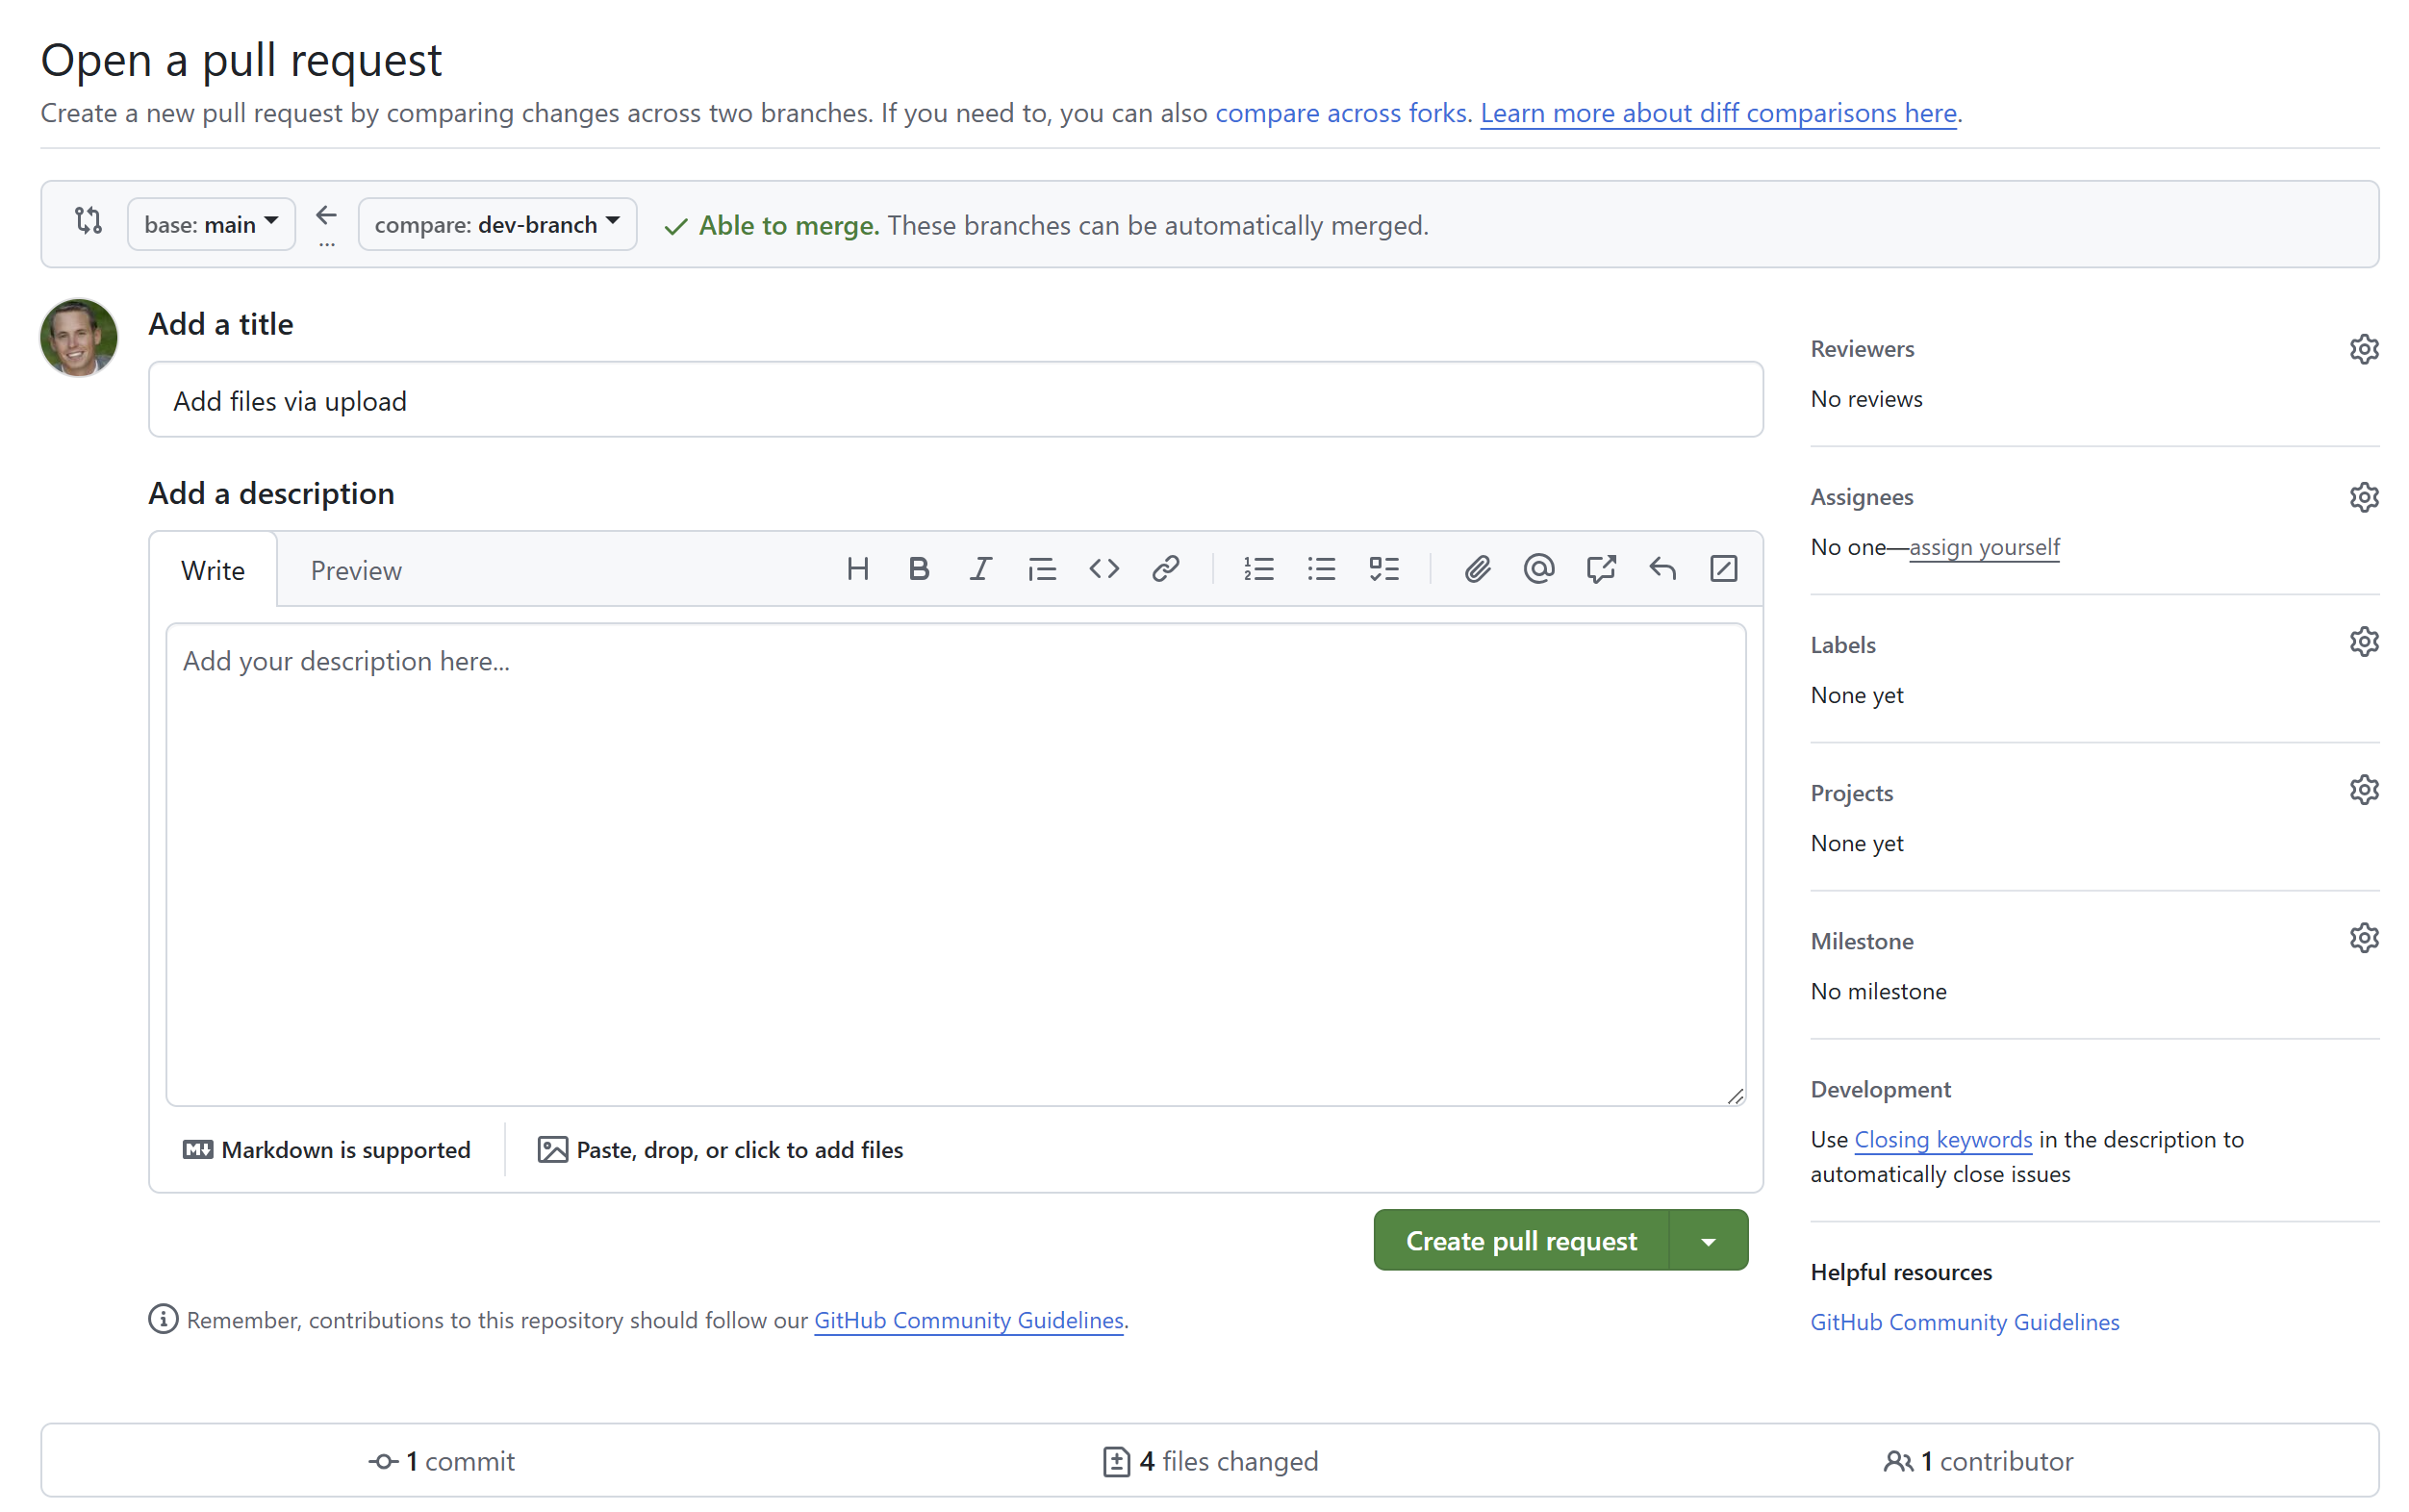
- Click Compare & pull request
- Click Create pull request
- Click Merge pull request
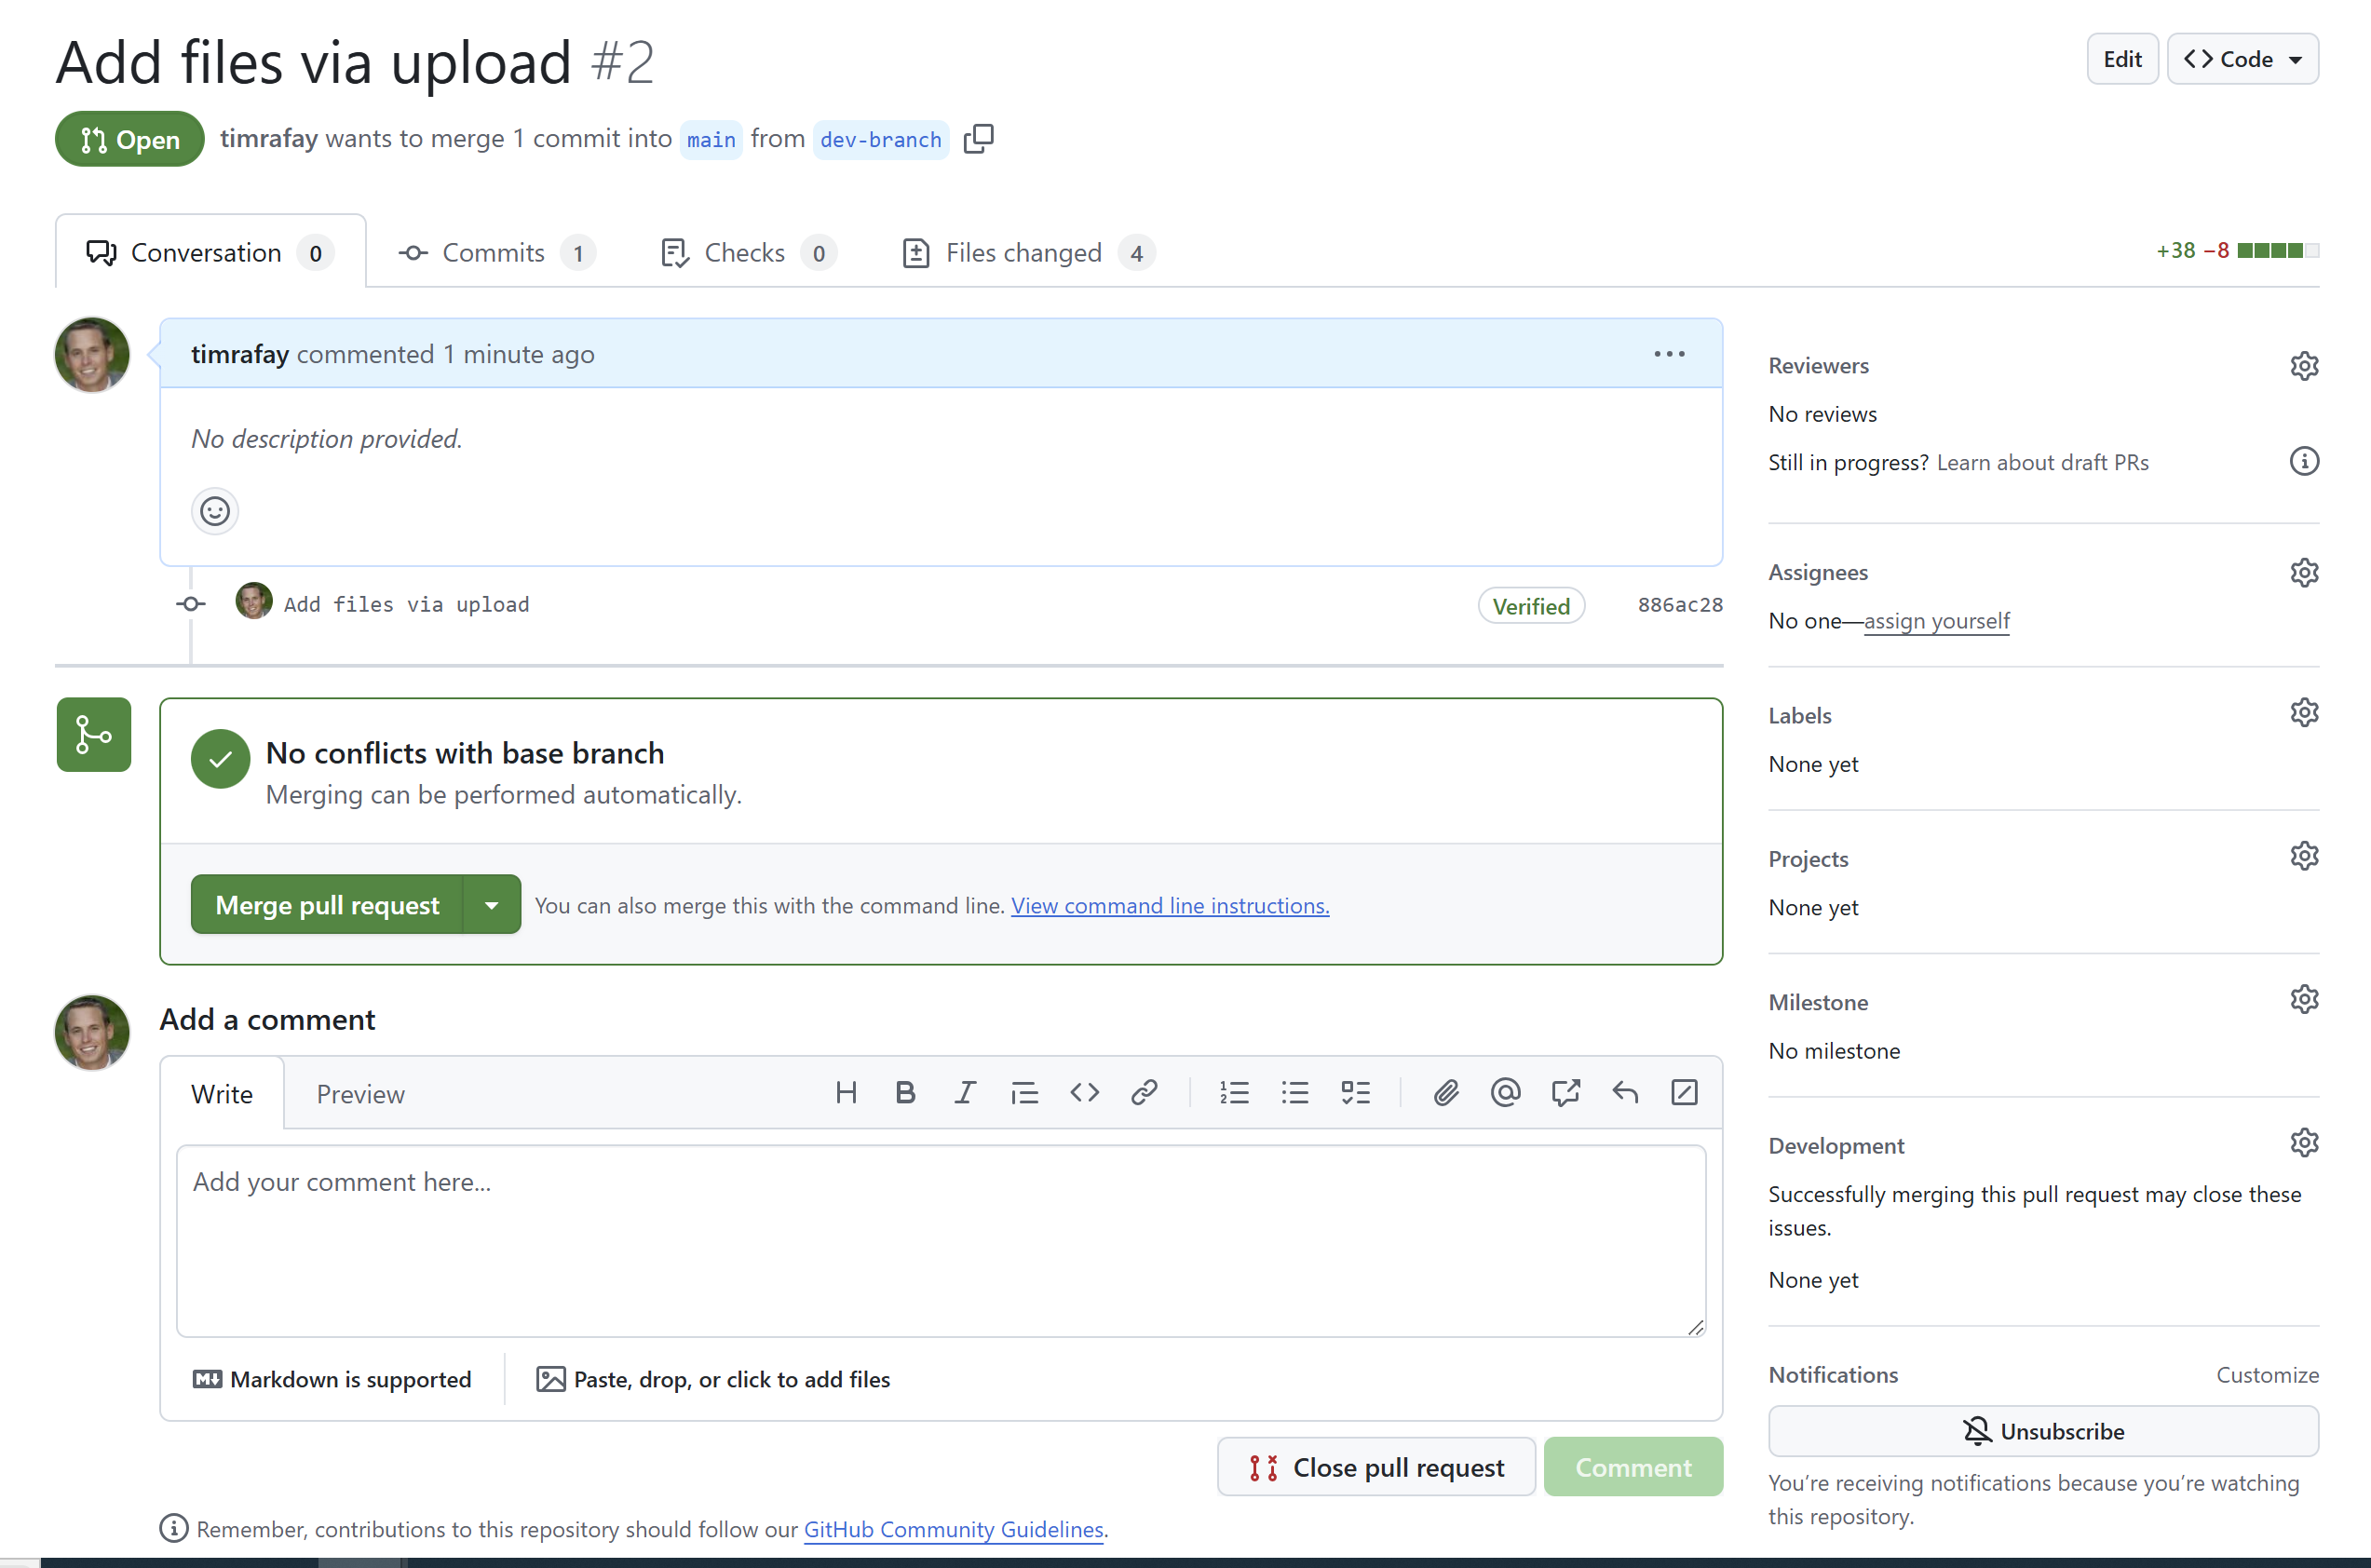
- Click Confirm merge
Step 6: Update Config Context
Now, you will go back into the Rafay Console and validate that the Config Context resource has been created. You will then update the sensitive variable value from the console. This will then encrypt the sensitive value and automatically write back to the Git repository.
- In your project, navigate to Environments -> Config Contexts
- Edit the newly created config context
- Navigate to Environment Variables
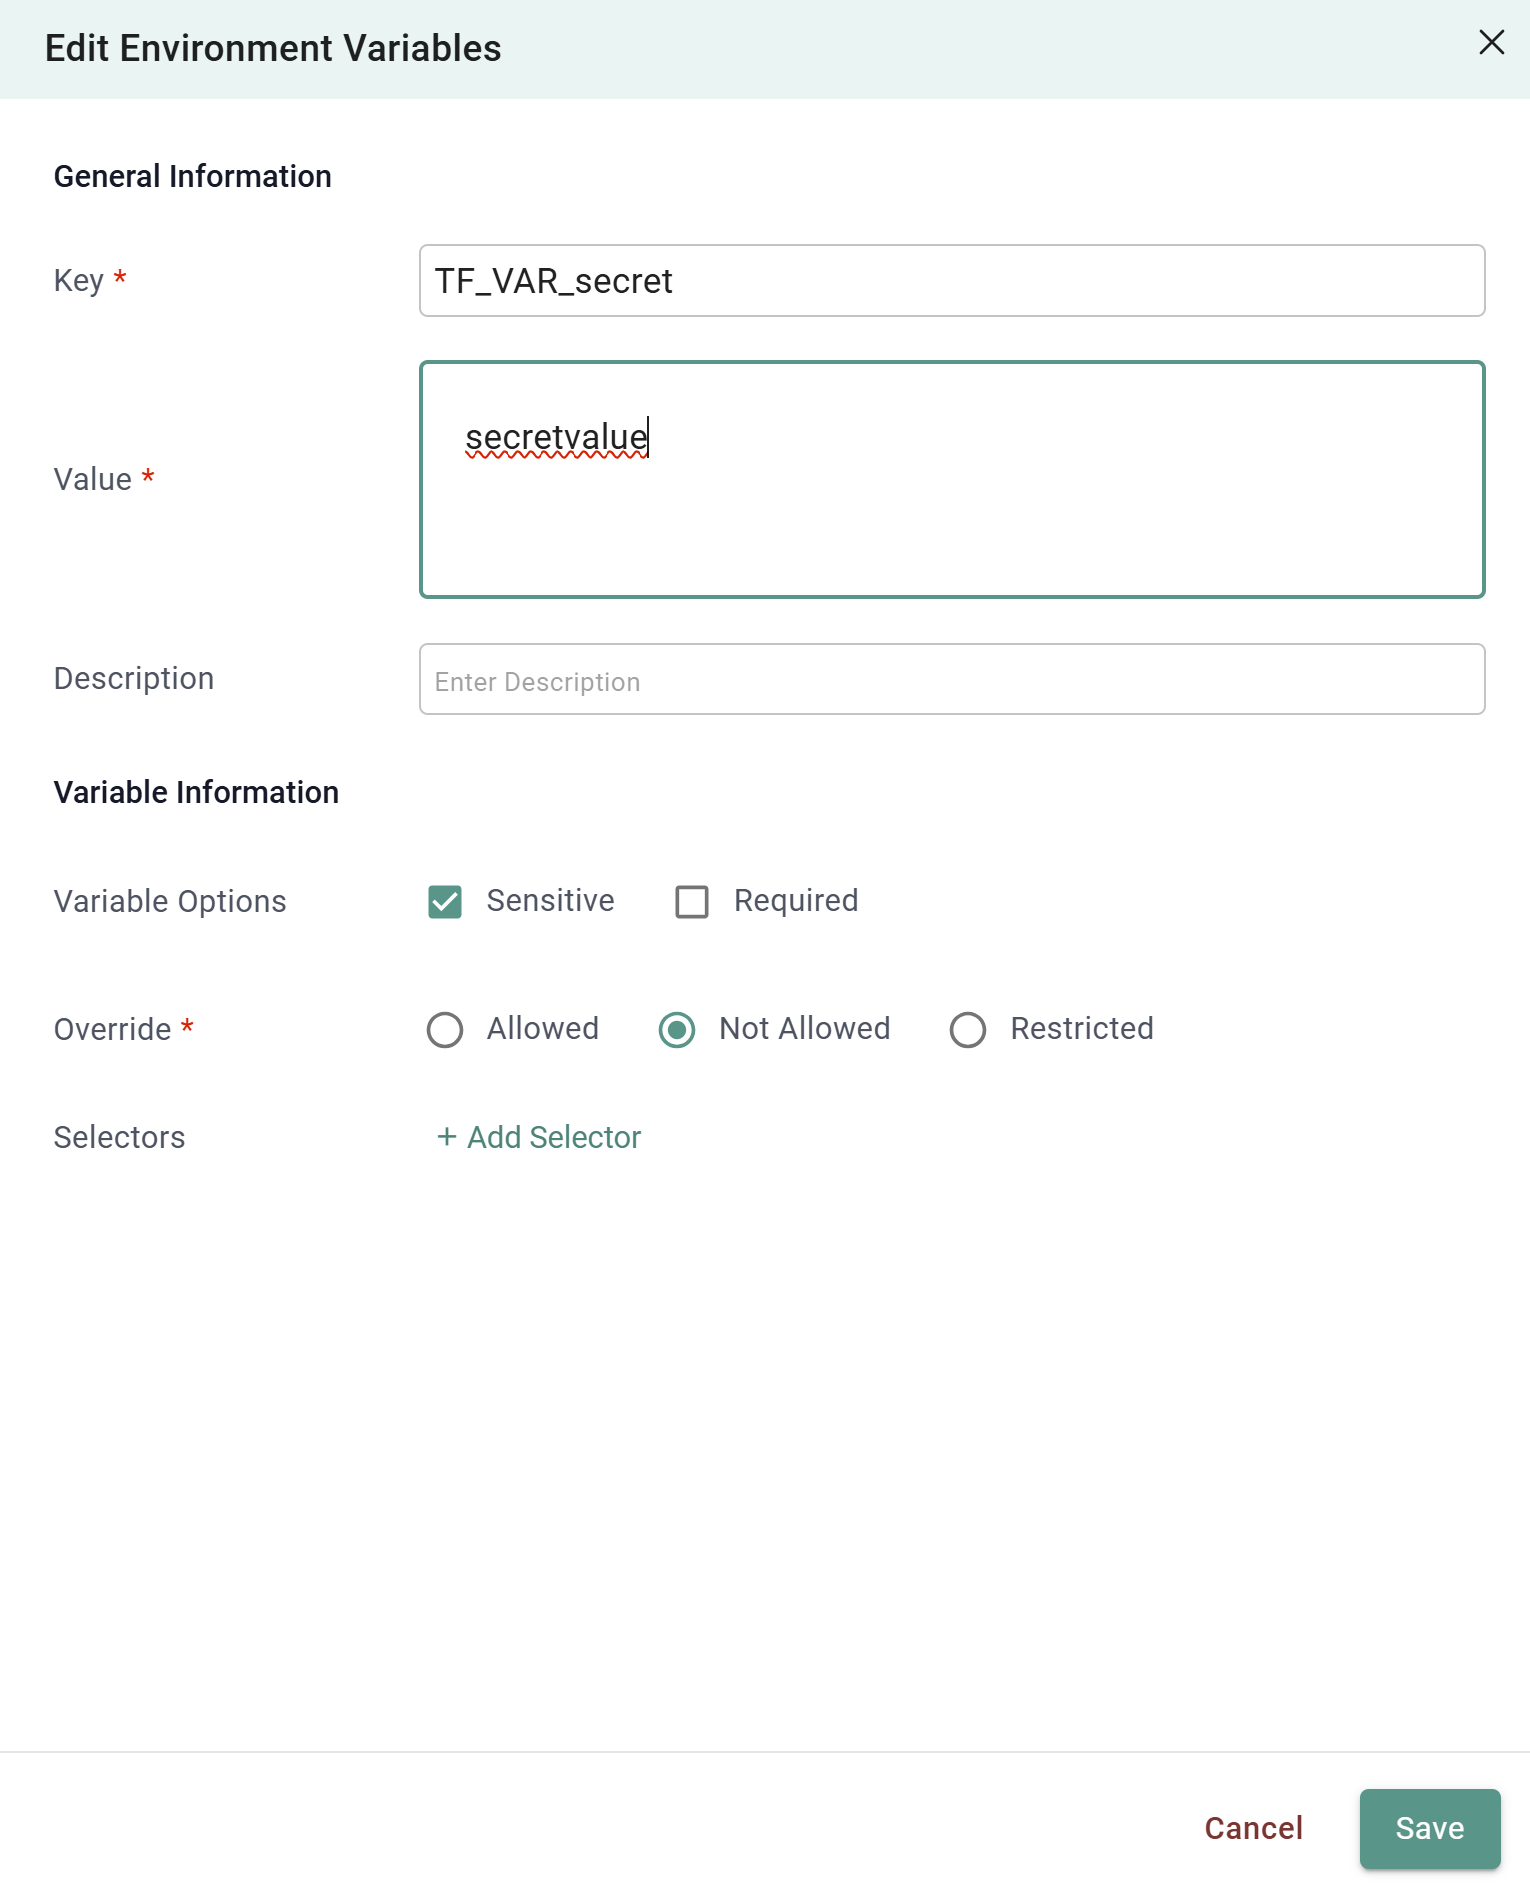
- Edit the variable named TF_VAR_secret
- Populate the Value field with any value
- Click Save
- Click Save again
Step 7: Validate Templates
In this step, you will validate that Rafay GitOps created the templates within Environment Manager.
- In your project, navigate to Environments -> Resource Templates
You will see the newly created resource template.

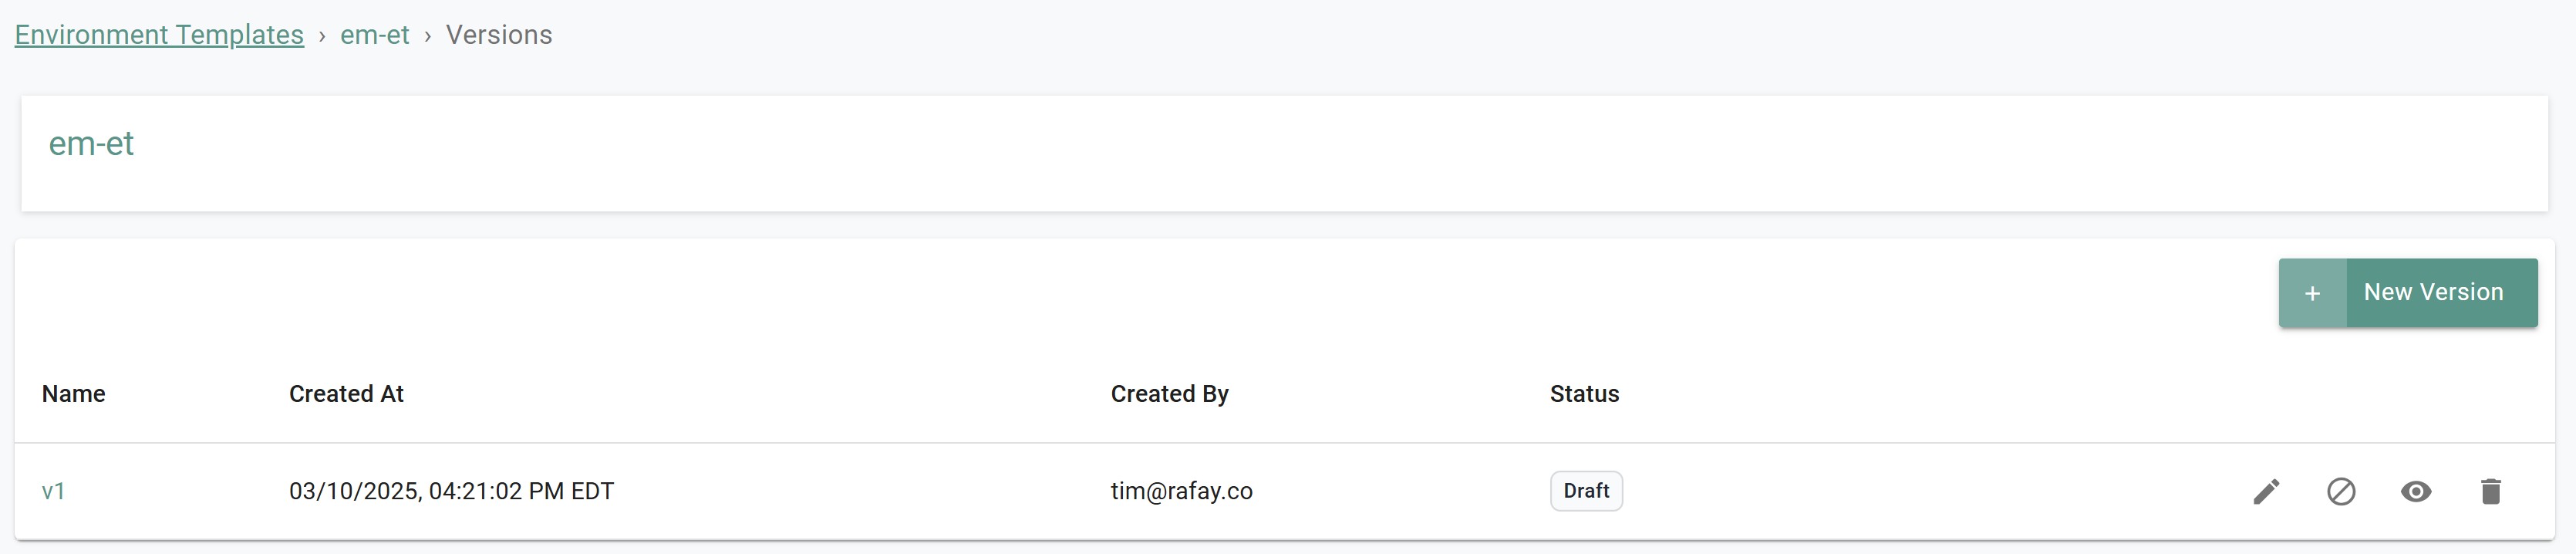
- In your project, navigate to Environments -> Environment Templates
You will see the newly created environment template.
Step 8: Create Environment
In this step, we will create an environment using the newly created environment template. The environment will execute the IaC referred to by the resource template. In this step, we will validate the successful run by reviewing the log. As part of our IaC, we are printing the the variables set in the config context. These should be visible in the screen.
- In your project, navigate to Environments -> Environments
- Click Launch on the environment template card
- Enter a name for the environment
- Click Save & Deploy

After a minute, the environment run will have completed.
- Click Show near Activities (Recent Runs)
- Expand group.em-rt.output
You will see the output of the access_key variable as well as the suppressed output of the secret variable value.

Recap
In this part, you used Rafay GitOp's Git to System synchronization capability to create an environment template. You then deployed an instance of an environment based on the newly created environment template.