Service Profile
In this section, you will create a Service Profile in Rafay's PaaS Studio based on the previously created environment template. The Service Profile can then be used by end users to deploy instances of the custom application as they need. The end users will use the Rafay Developer Hub to deploy and manage the custom applications via an App Store type user experience.
Info
In this exercise, we will use a single user account to perform both administrative and end user actions. In real life, the administrative and end users would be different.
Step 1: Create Service Profile
In this step, you will use the PaaS Studio to create a Service Profile. The service profile will be used to execute the previously create environment template in a self service manner.
- In the console, navigate to Home -> PaaS Studio
- Click Service Profiles in the left hand tree
- Select em-gs for the project
- Click New Service Profile
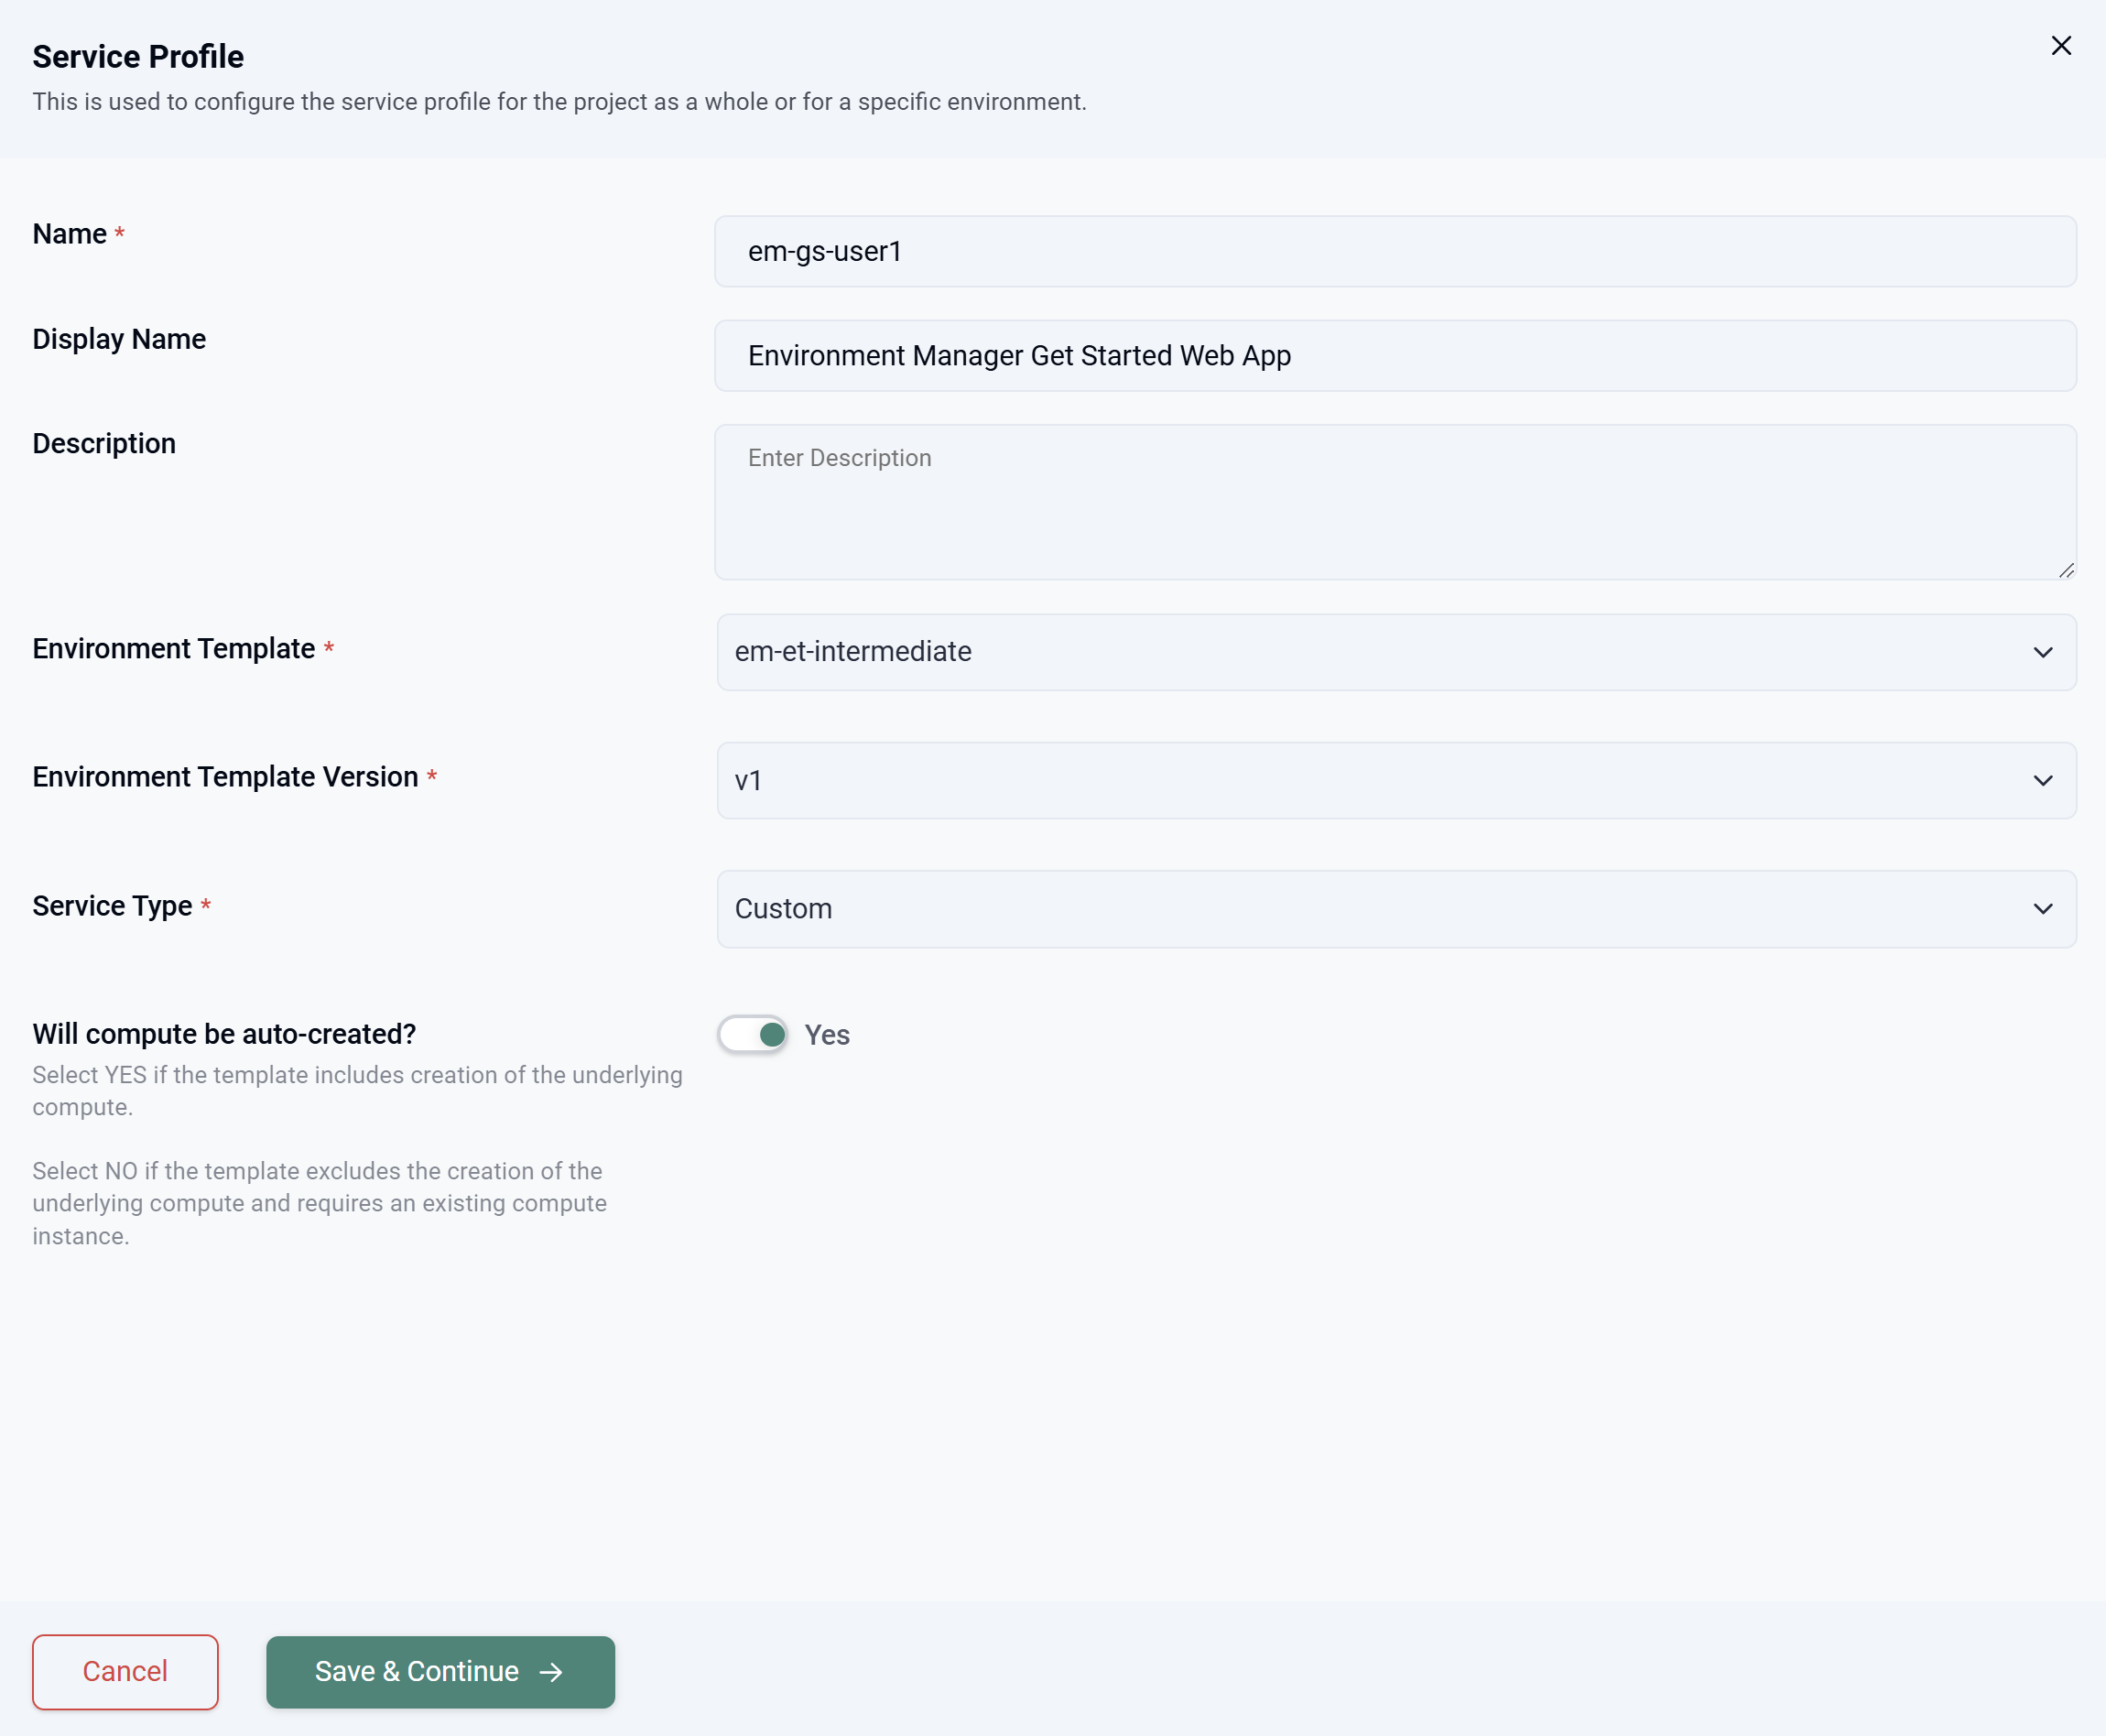
- Enter a name for the profile
- Select the previously created environment template
- Select the template version
- Select Custom for Service Type
- Select Yes for Will compute be auto-created?
- Click Save & Continue
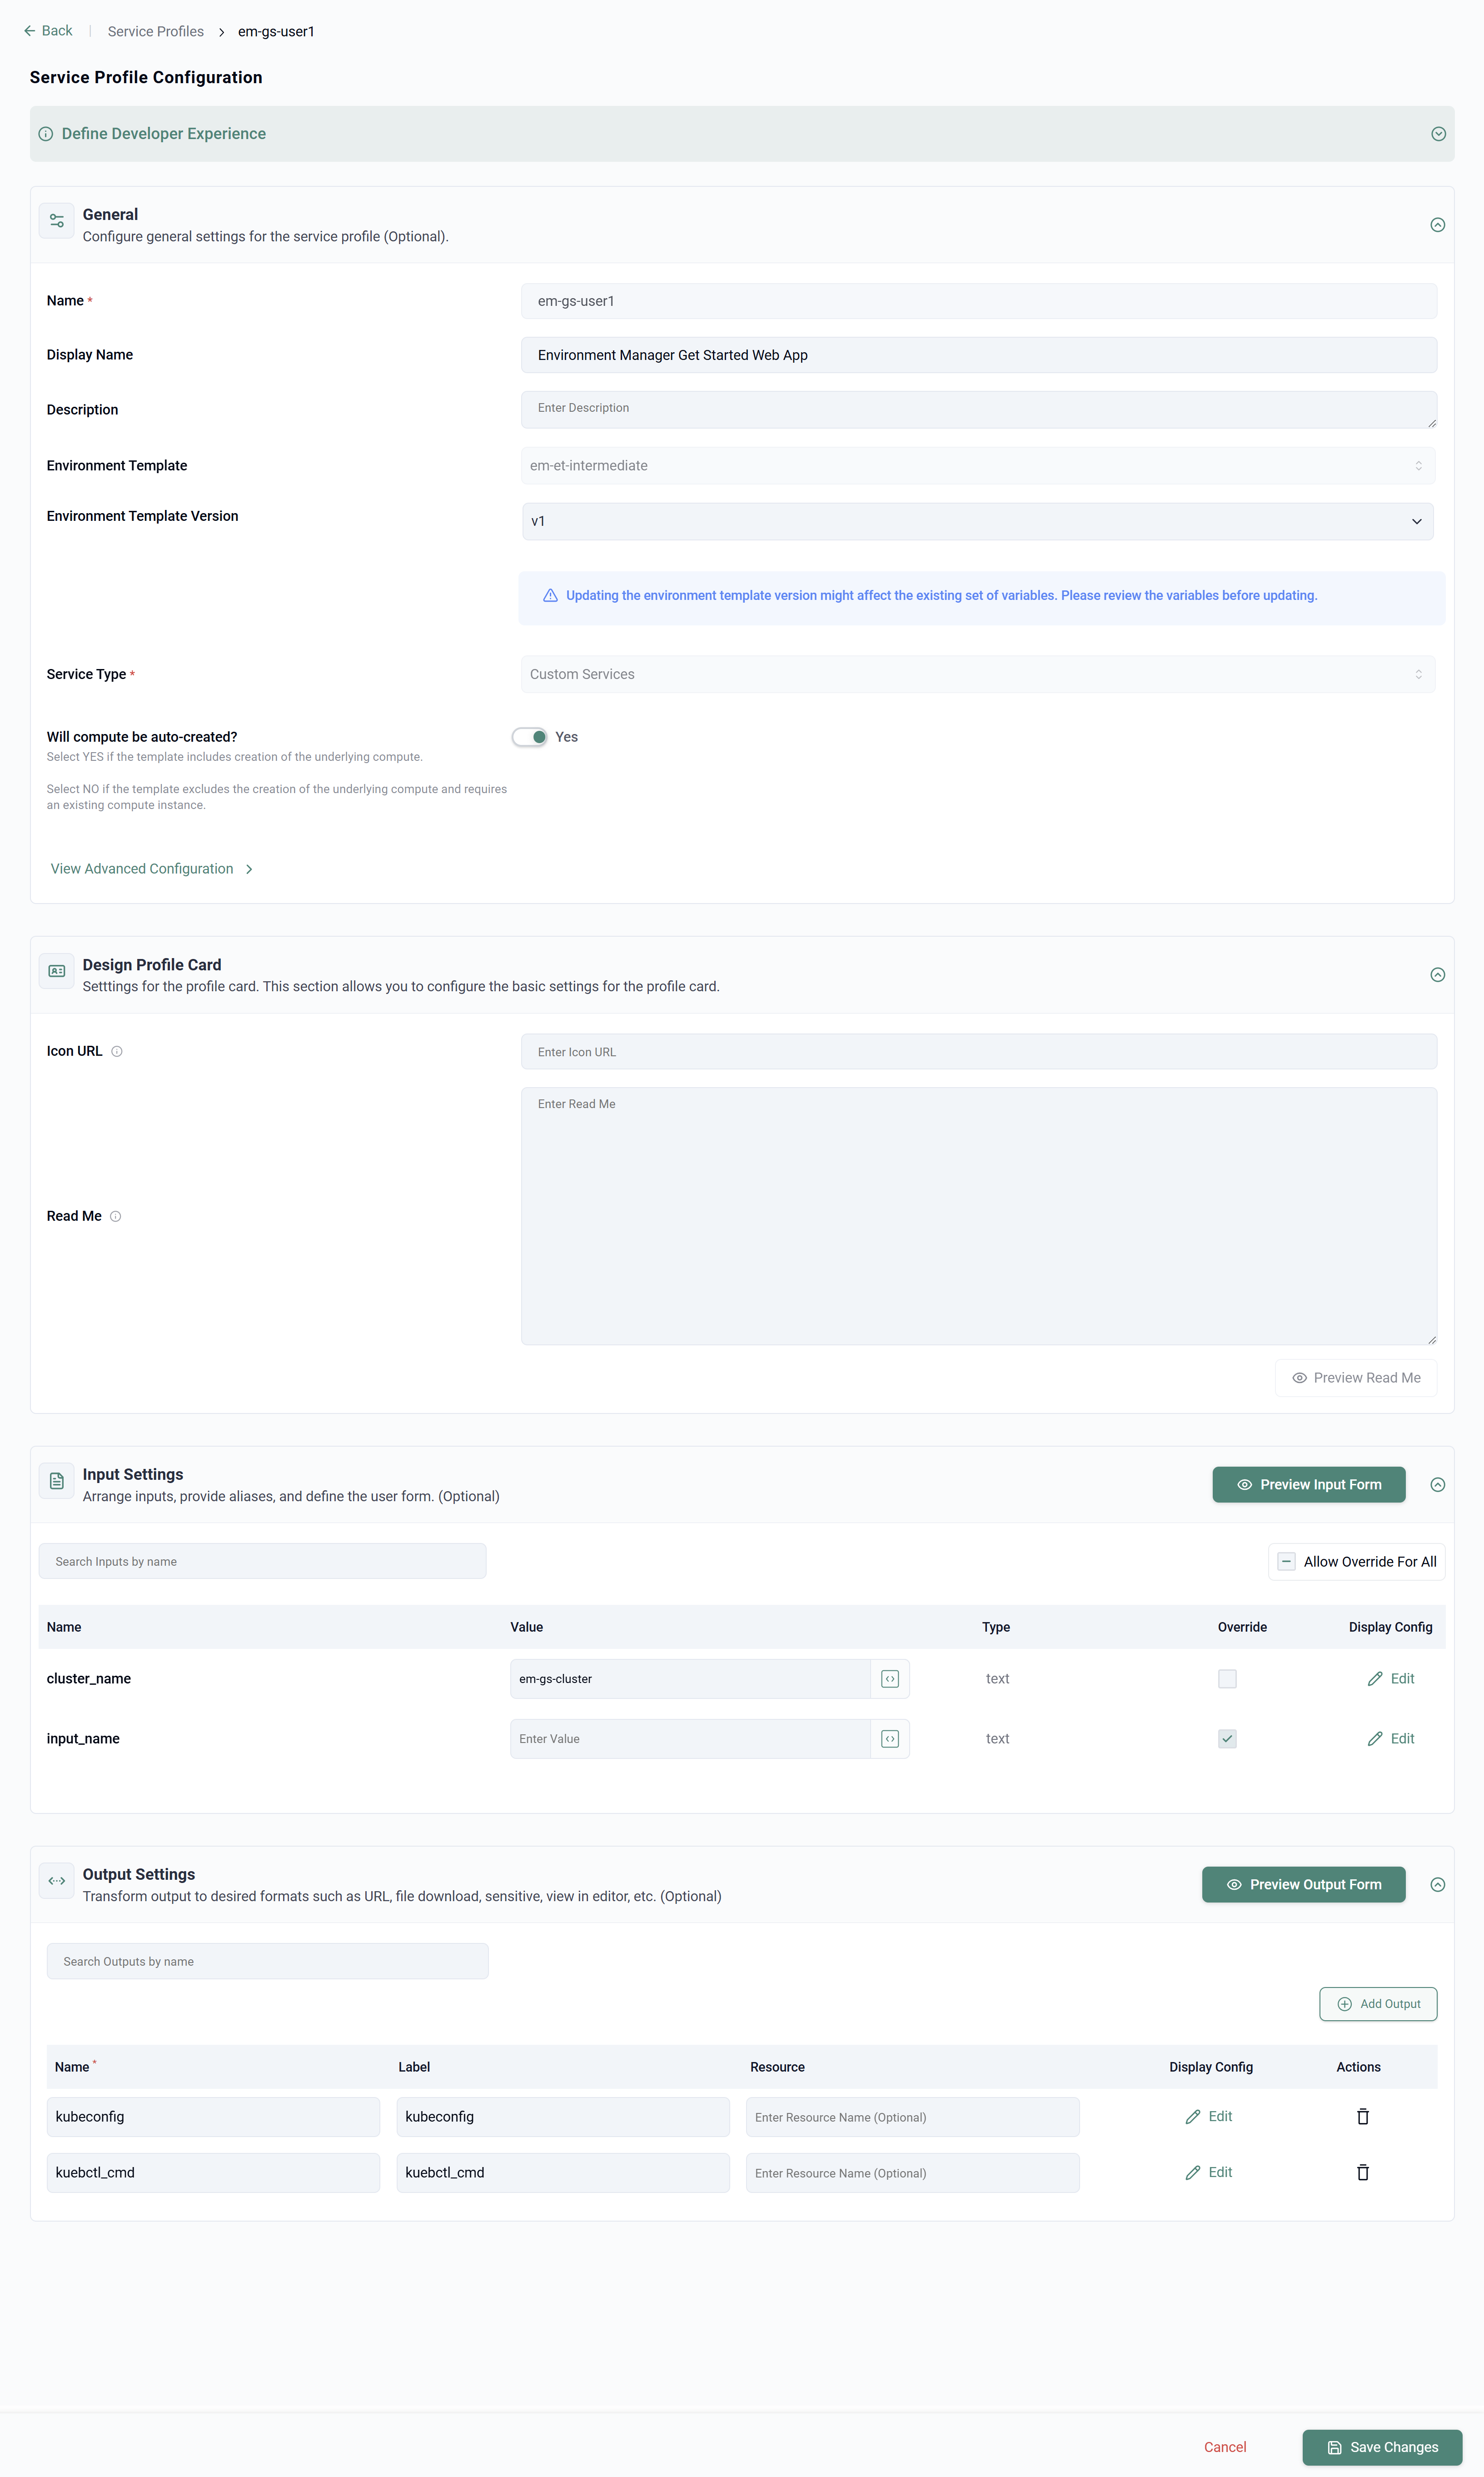
- Under Input Settings, uncheck the Override checkbox for the cluster_name variable
- Enter the name of an existing managed cluster within the project into the value field
- Under Output Settings, click Add Output
- Enter kubeconfig for the Name and Label values
- Under Output Settings, click Add Output
- Enter kubectl_cmd for the Name and Label values
- Click Save Changes
Step 2: Create Workspace
In this step, you will use the Developer Hub to create a Workspace. A Workspace is a logical isolation boundary where instances from available profiles can be created.
- Navigate to Home -> Developer Hub
- Select em-gs for the project
- Click Workspaces in the left hand tree
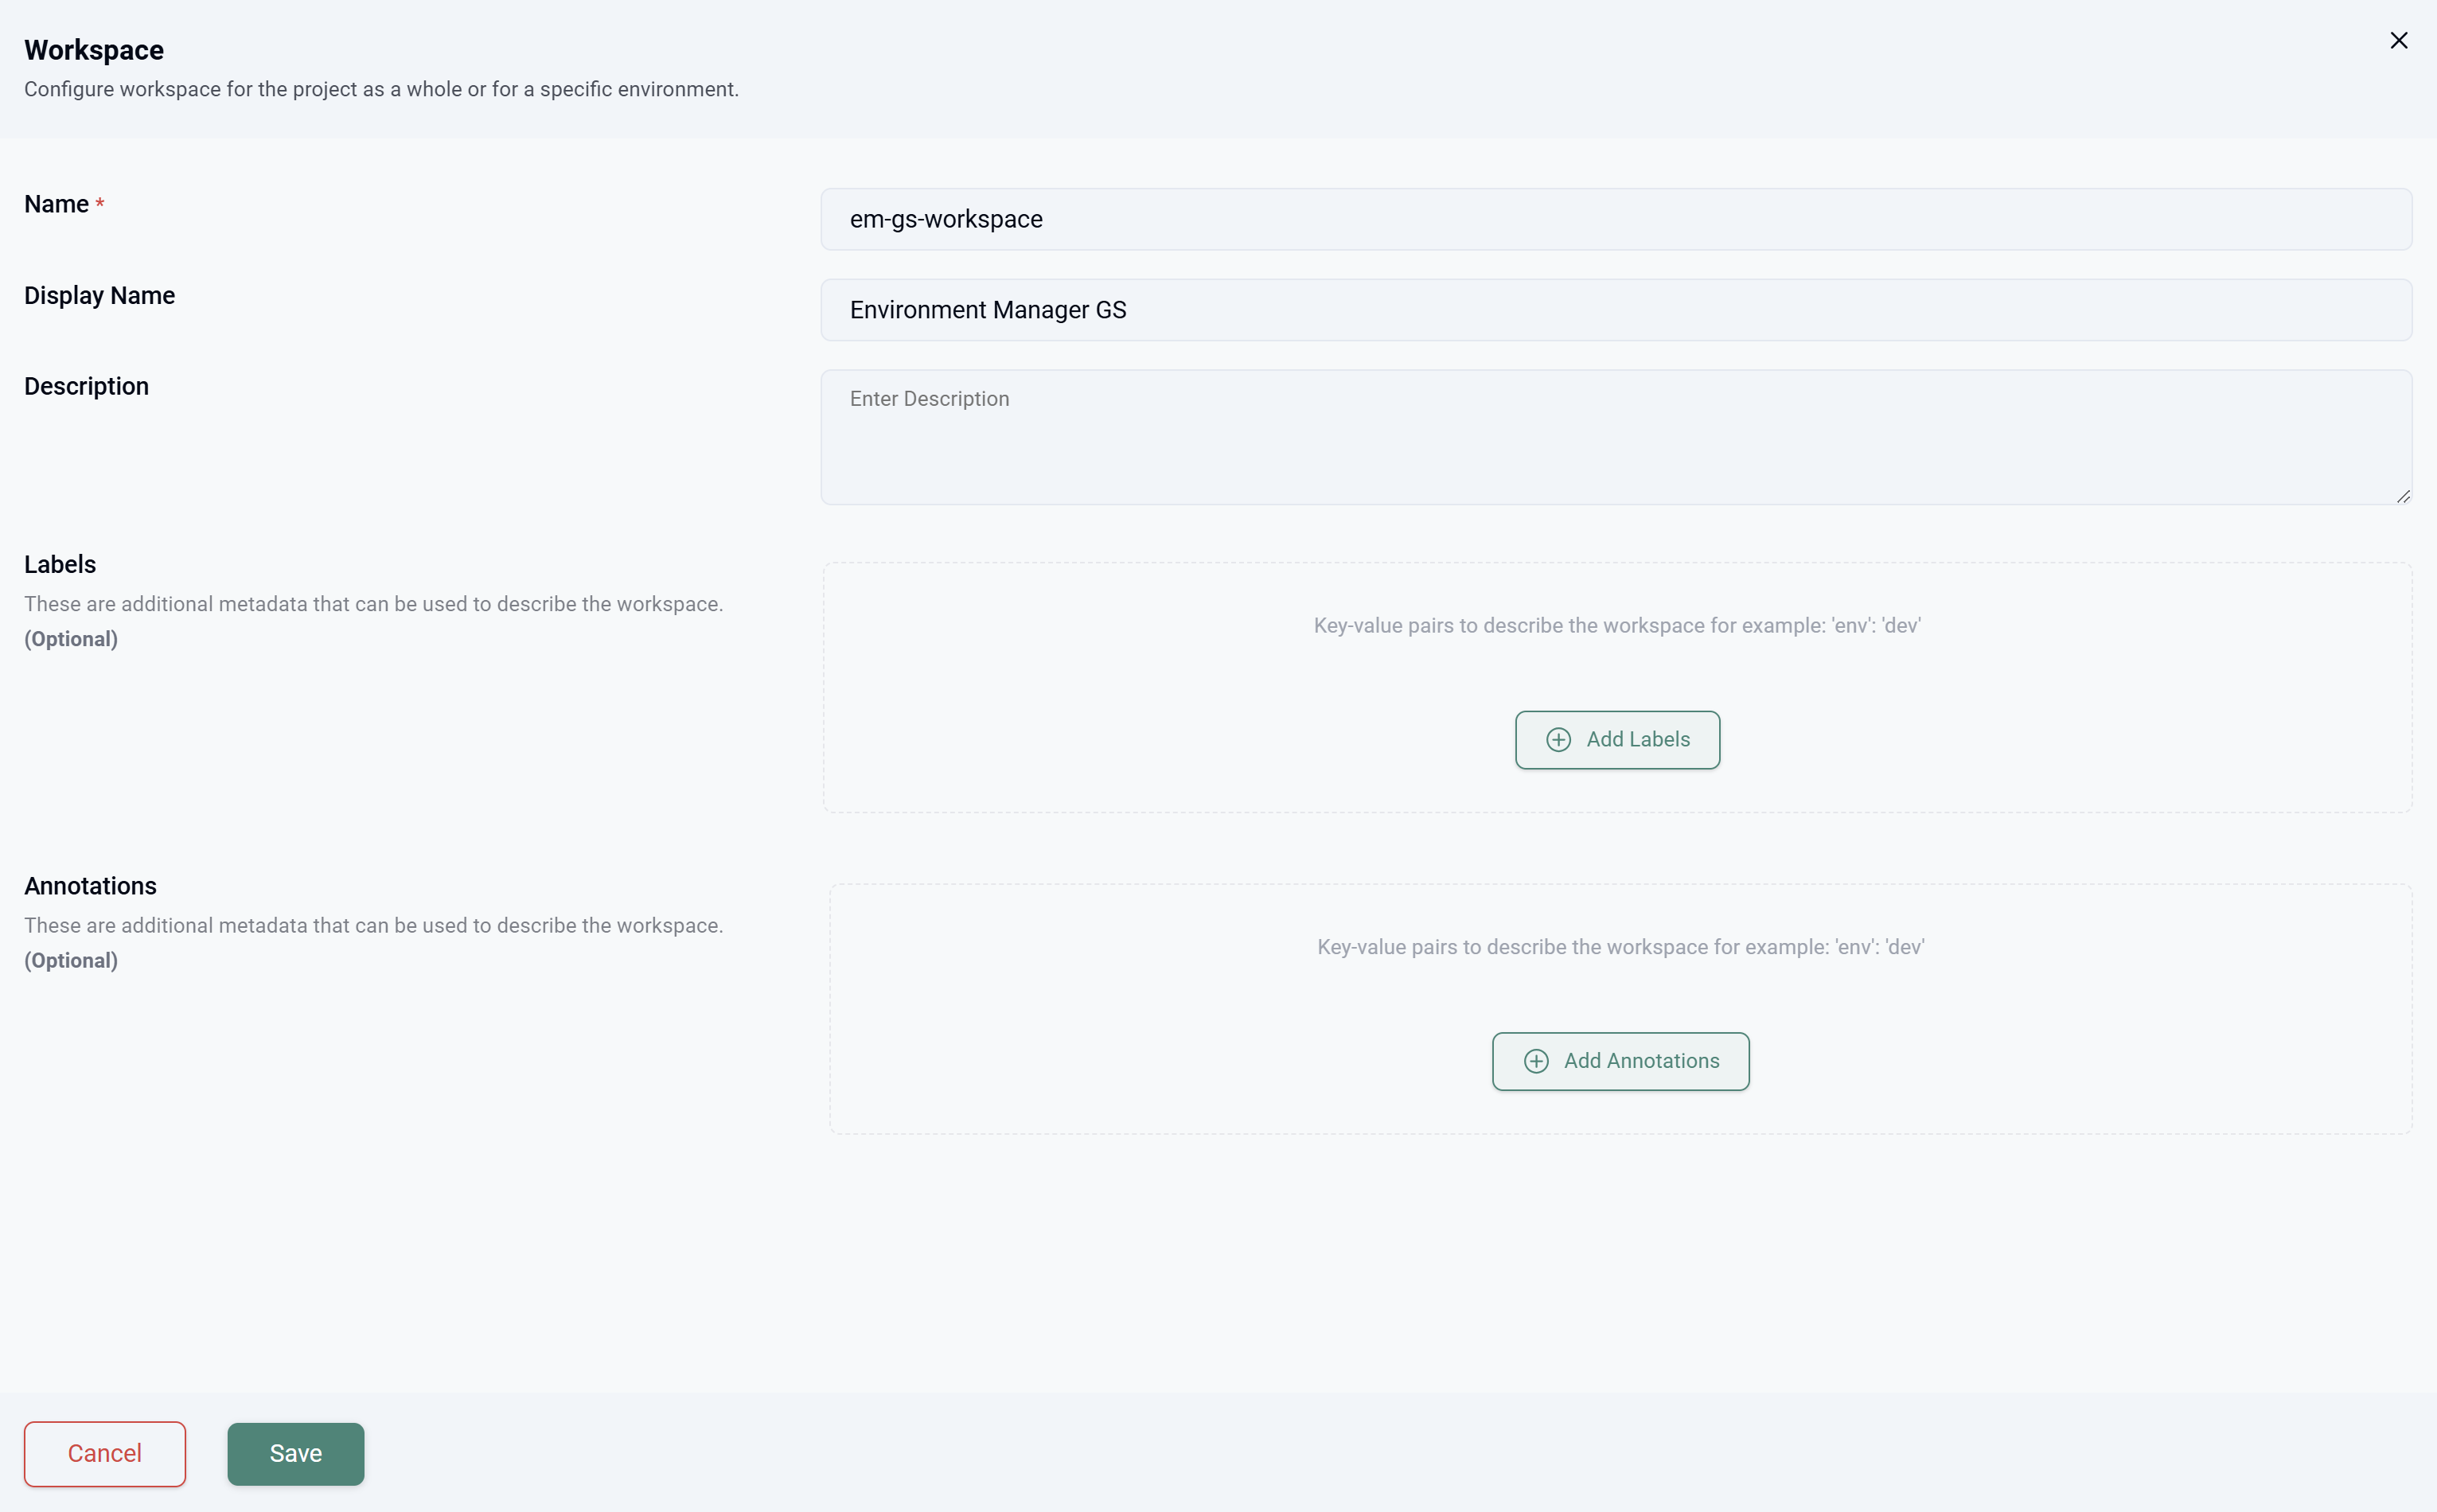
- Click New Workspace
- Enter a name for the workspace
- Click Save
Step 3: Deploy Custom Service
In this step, you will now use the previously created Service Profile and create a service instance within the workspace.
- Navigate to Home -> Developer Hub
- Select em-gs for the project
- Click Custom Services in the left hand tree
- Click New Custom Services
- Click Select on the previously created service card
- Enter a name for the service instance
- Select the previously created workspace
- Enter any name for the input_name variable
- Click Deploy

The instance will deploy onto the cluster that was defined within the Service Profile. It will take ~2 minutes to deploy.
Step 4: Access Instance
In this step, you will use the output of the deployed instance to access the web service that was deployed onto the cluster.
- Navigate to Home -> Developer Hub
- Select em-gs for the project
- Click Custom Services in the left hand tree
- Click on the name of the previously created instance
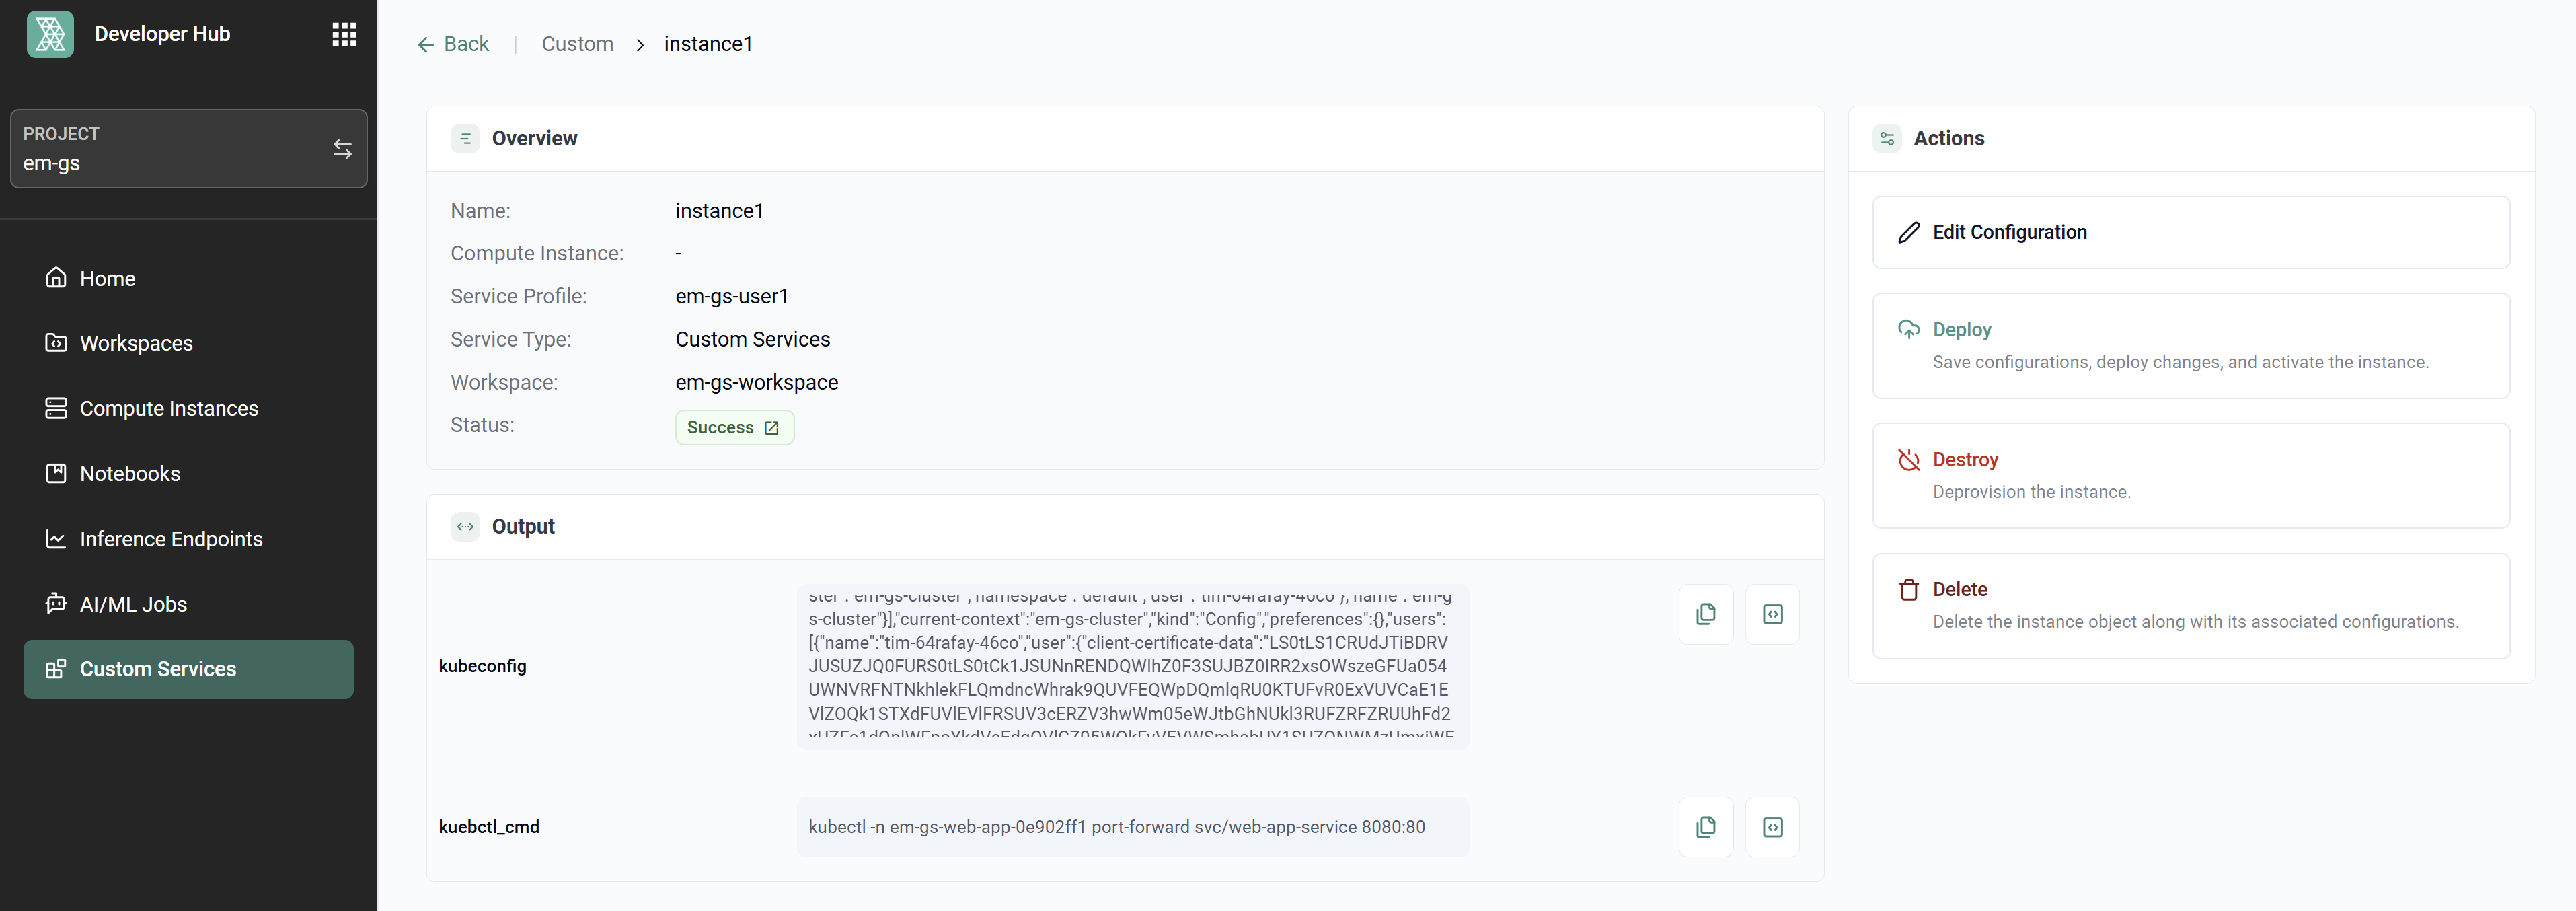
- In the Output section, copy the kubeconfig value and load it into kubectl to be able to access the cluster
- In the Output section, copy the kubectl_cmd value and run this command in order to create a port forward connection to the web service running on the cluster
- In your local browser, navigate to http://localhost:8080
You will connect to the webserver and see the phrase Hello and the name you entered as a variable when deploying the instance

Recap
In this part, you used Rafay's PaaS Studio to create a service profile that that could be consumed by self service users within Rafay's Developer Hub. From the Developer Hub, you deployed a self service instance of the custom service profile and used the outputs of the deployed instance to access the web server that was deployed from the underlying environment template.